Omega2 Plus – small single-core computer on Linux (OpenWRT/LEDE). It is interesting by the presence of external pins (GPIO), interfaces I2C, I2S, SPI, Ethernet. Official price – 9$, but delivery can cost over 50% Omega price (depends of country).Let’s consider in more detail the launch of the module and its initial software stuffing.
0. Compare Omega2 & Omega2 Plus
There are two versions of Omega2 – Omega2 and Omega2 Plus (comparative characteristic show on image below)
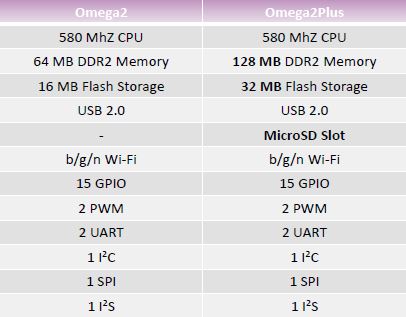
The main difference is only in RAM and Flash sizes, and and the presence of a MicroSD slot in Omega2+.
Board size is 40×25 mm.
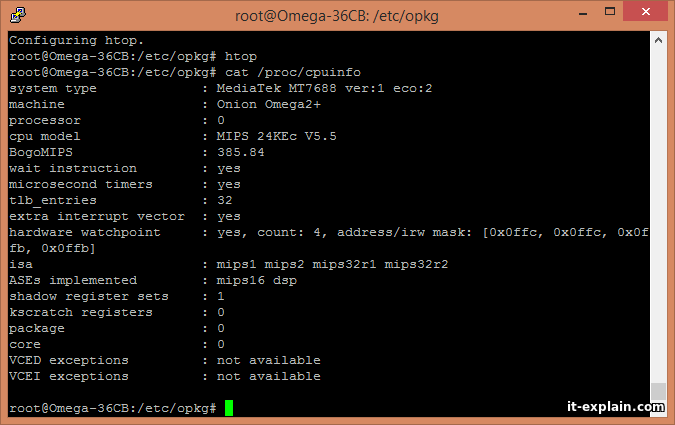
Both models use the same CPU MediaTek MT7688 (MIPS arch) with frequency 580 MHz.
The platform supports many popular programming languages, such as Python, Ruby, C++, PHP
1. Run Omega without Dock
To start the module, you just need to supply power 3.3 V (current 0.5 A) to the corresponding pins (pinouts is shown on image below)
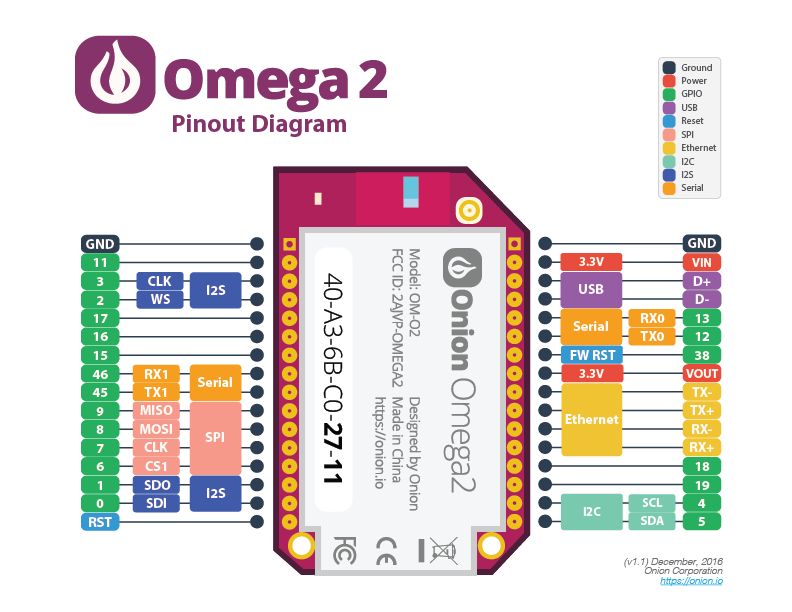
I used power supply 5V 1A with linear stabilizer AMS1117 (3.3 V).
When connected, Omega winked at the LED on the front panel and fell silent. WiFi network not up. I had to connect the console.
I saw that Omega stop on the stepEEPROM:Read from [factory] offset.
The first thought is poor supply. After reading forums the theory was confirmed.
I have only an adjustable impulse regulator for 10 A, I had to use it. And the module successfully launched and up the WiFi network with SSID Omega2-XXXX
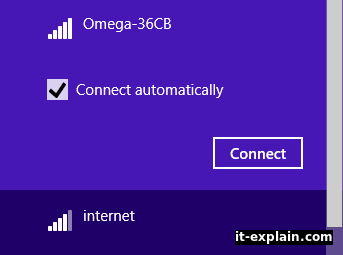
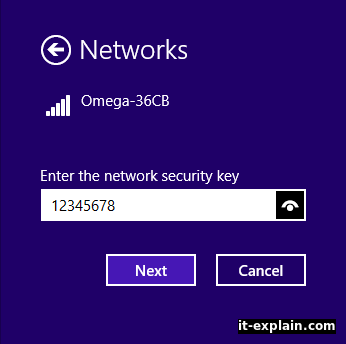
Default password for network is 12345678. Fast connection. The DHCP server of the module dynamically distributes IP’s 192.168.3.0/24
1.1 Initial launch
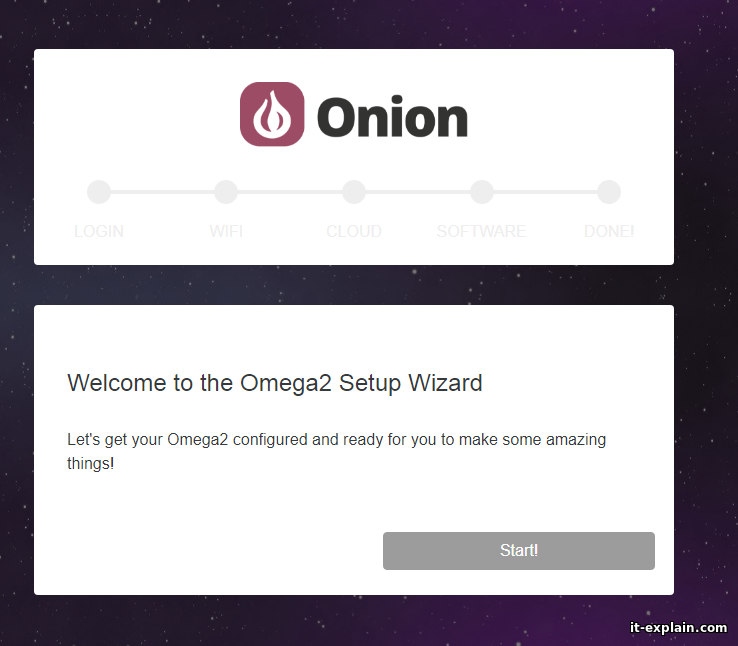
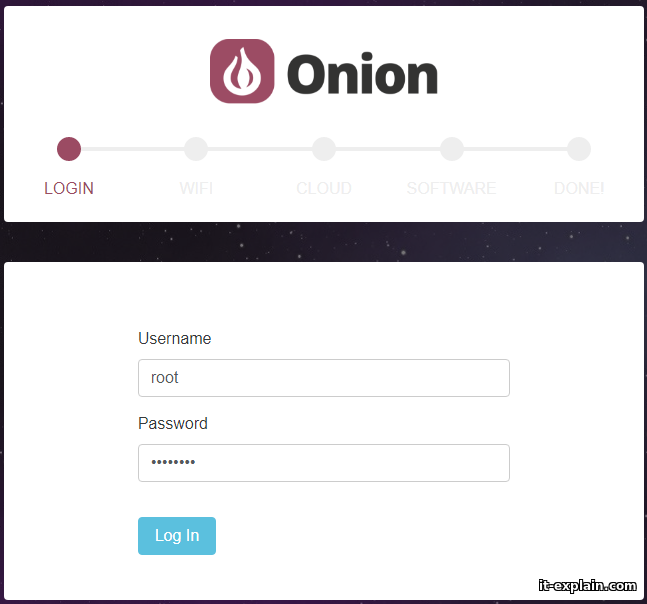
Go to url 192.168.3.1 we get to the installation wizard.
Default login and password: root и onioneer
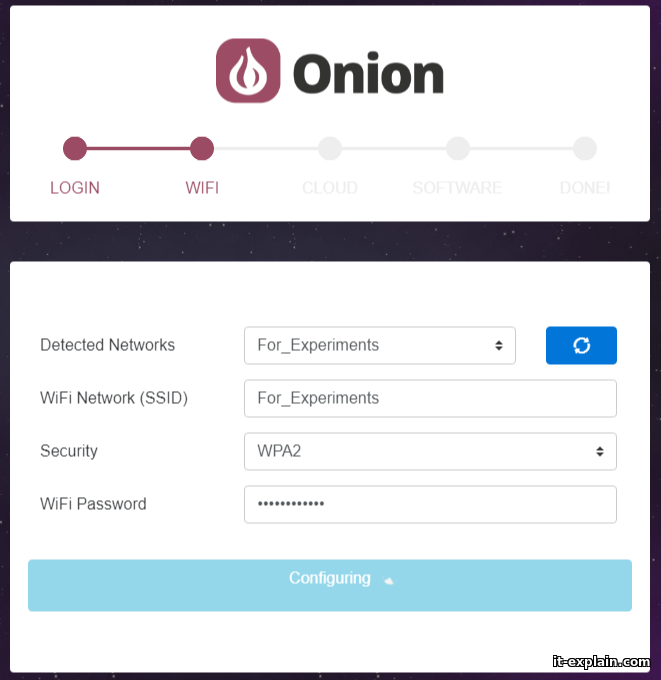
Next, you need to connect to the WiFi network. This step is very important, because without it Omega simply refuses to run.
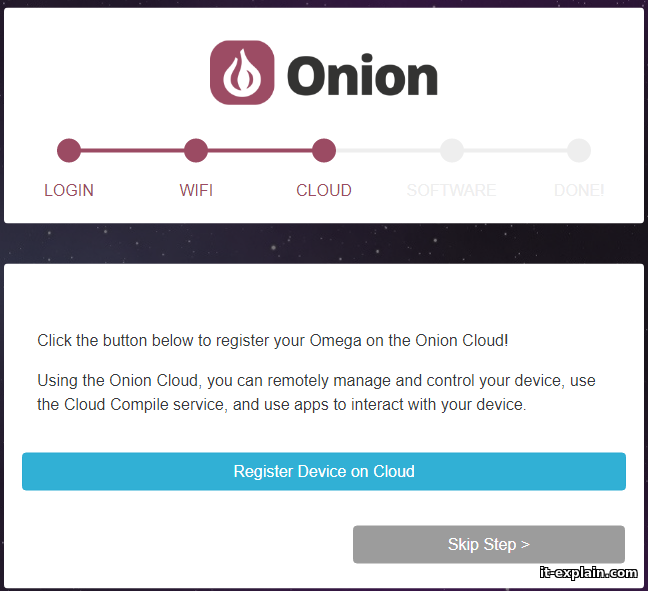
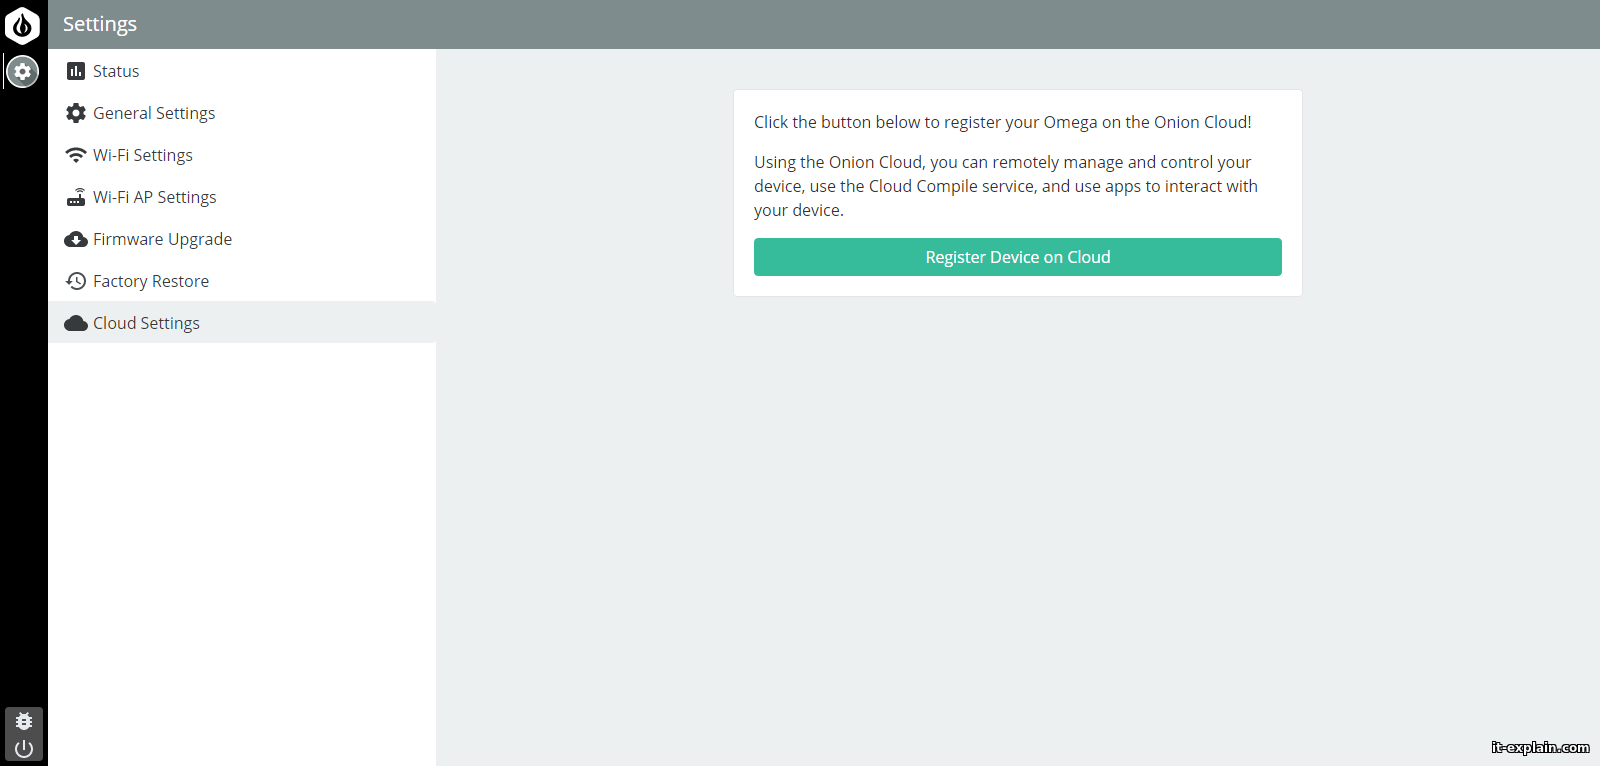
After successfully connecting to the Internet, Omega requests that the device be registered in the cloud. Registration is optional, so I skipped this step (if necessary, the device can be registered later).
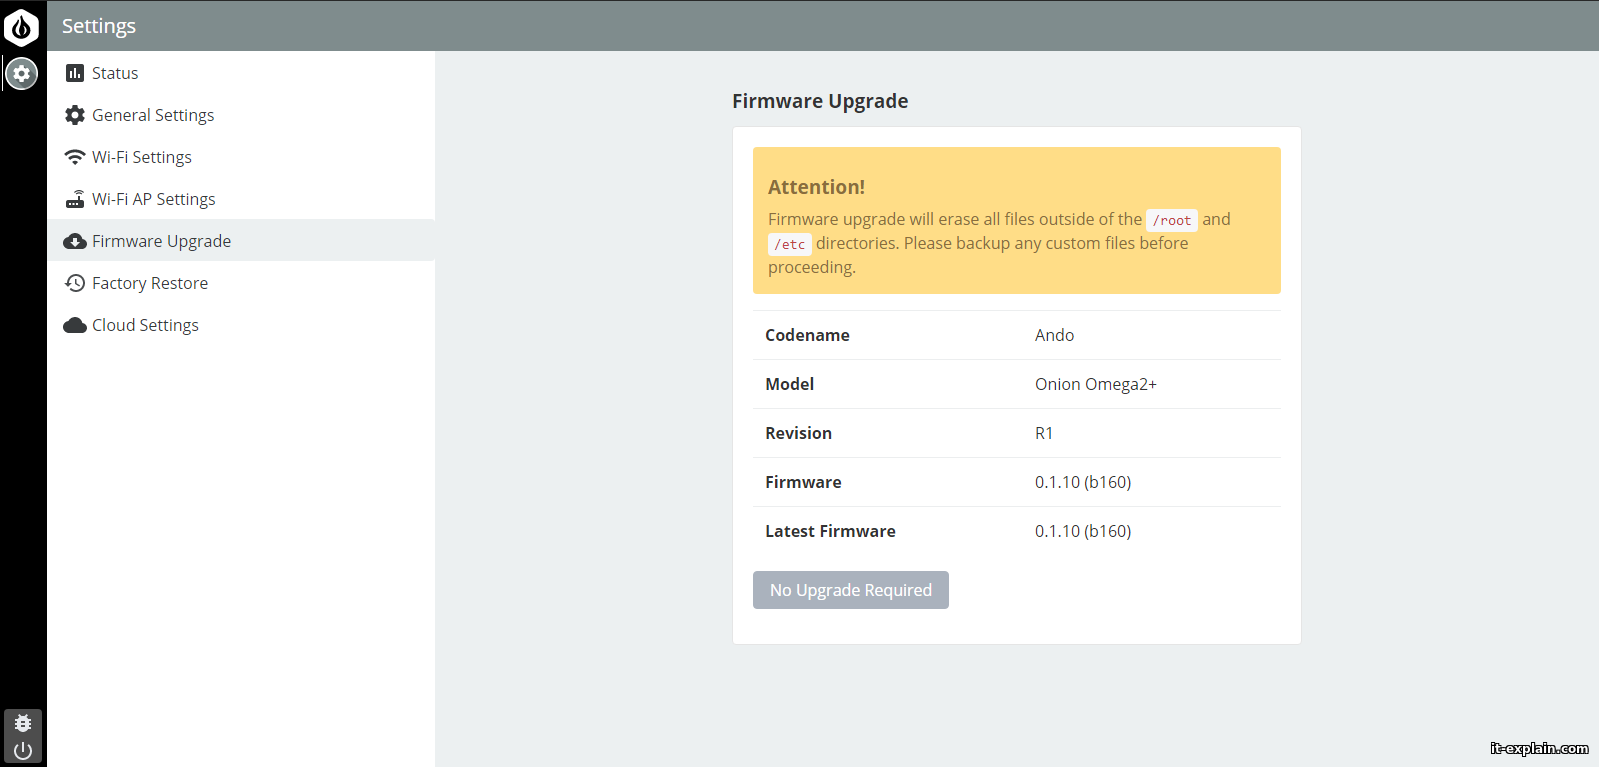
Next, update the firmware and install the console.
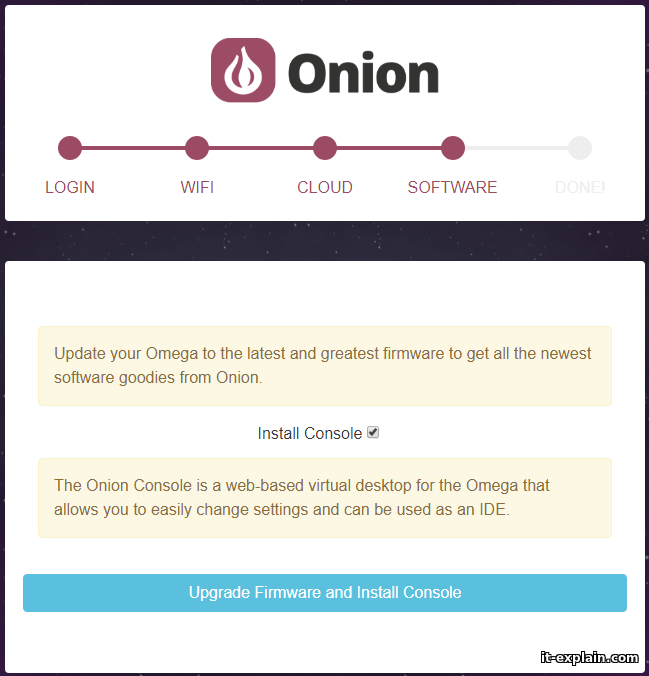
The update process lasts a little longer than 4 minutes, so that anyone who will use the module, I recommend waiting for the appearance WiFi network Omega.
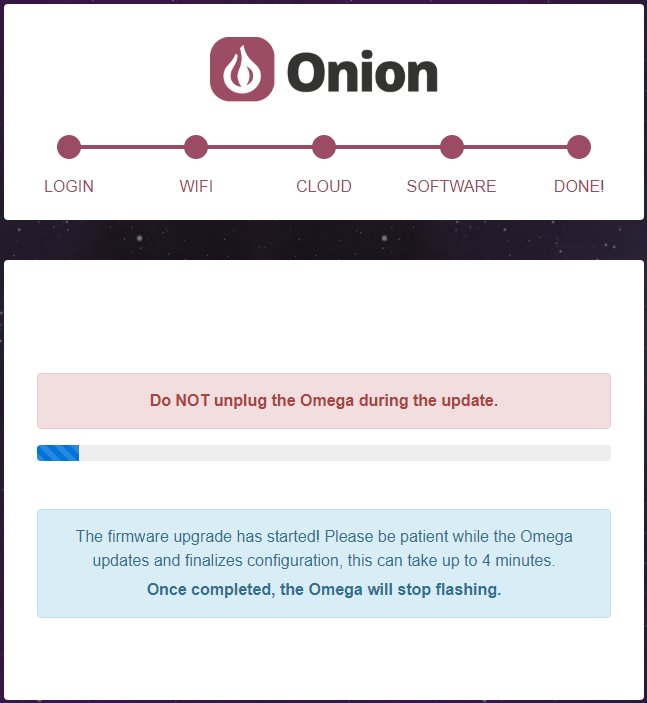
After a successful update, a corresponding message appears.
Now can connect via browser or SSH to the address 192.168.3.1
2. Control panel
2.1 Web interface
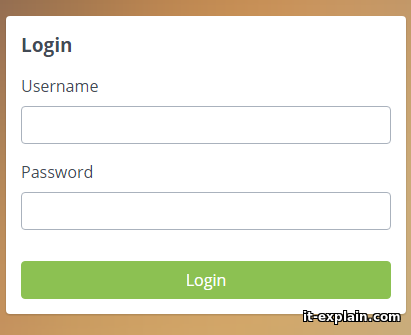
Go to url http://192.168.3.1 a welcome screen appears asking for authorization. The login and password are the same as those used for installation.
After the authorization, a similarity of the “Desktop” with application icons opens.
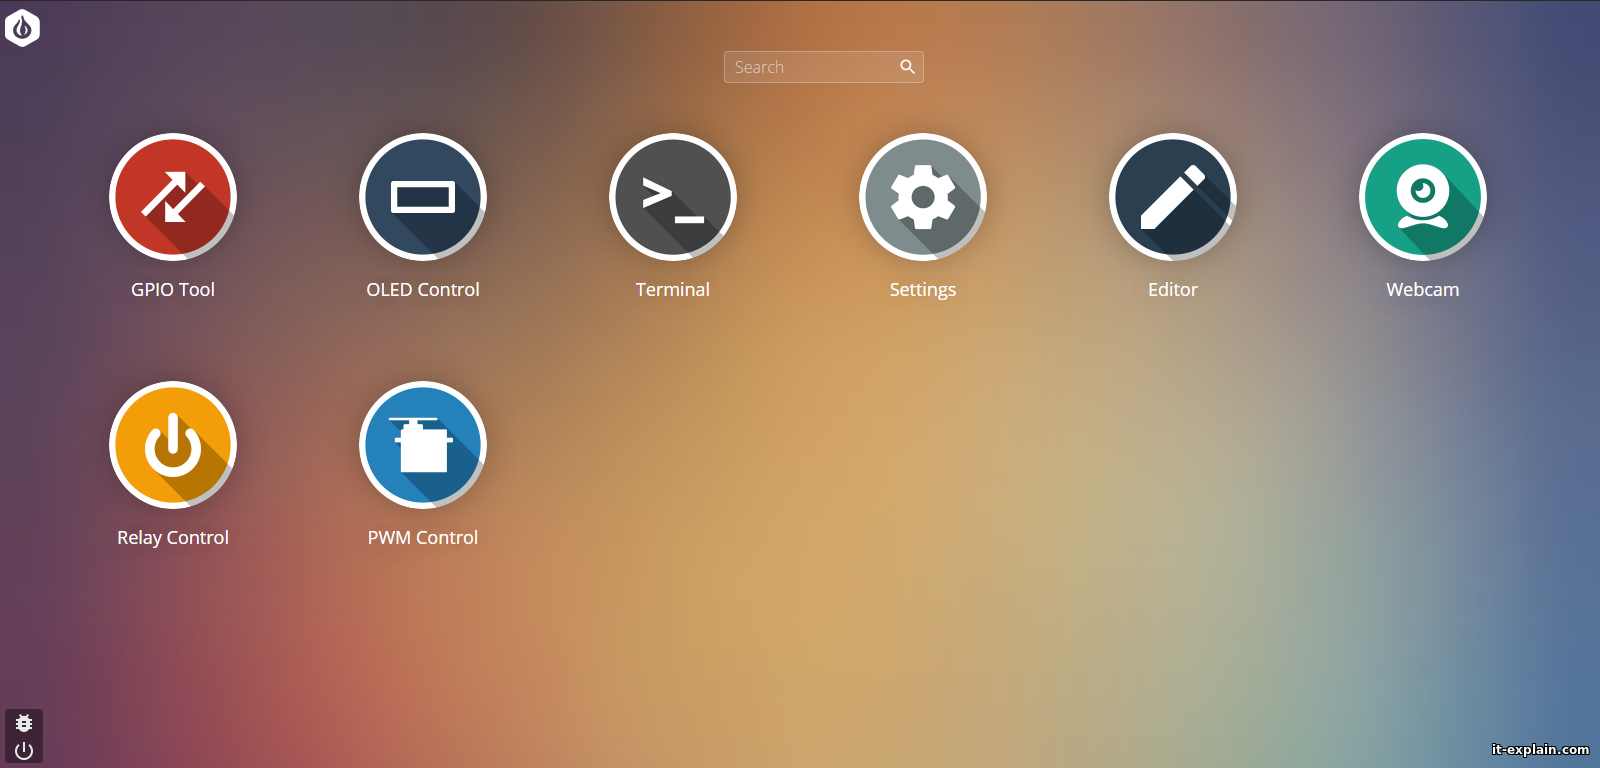
Consider the installed applications:
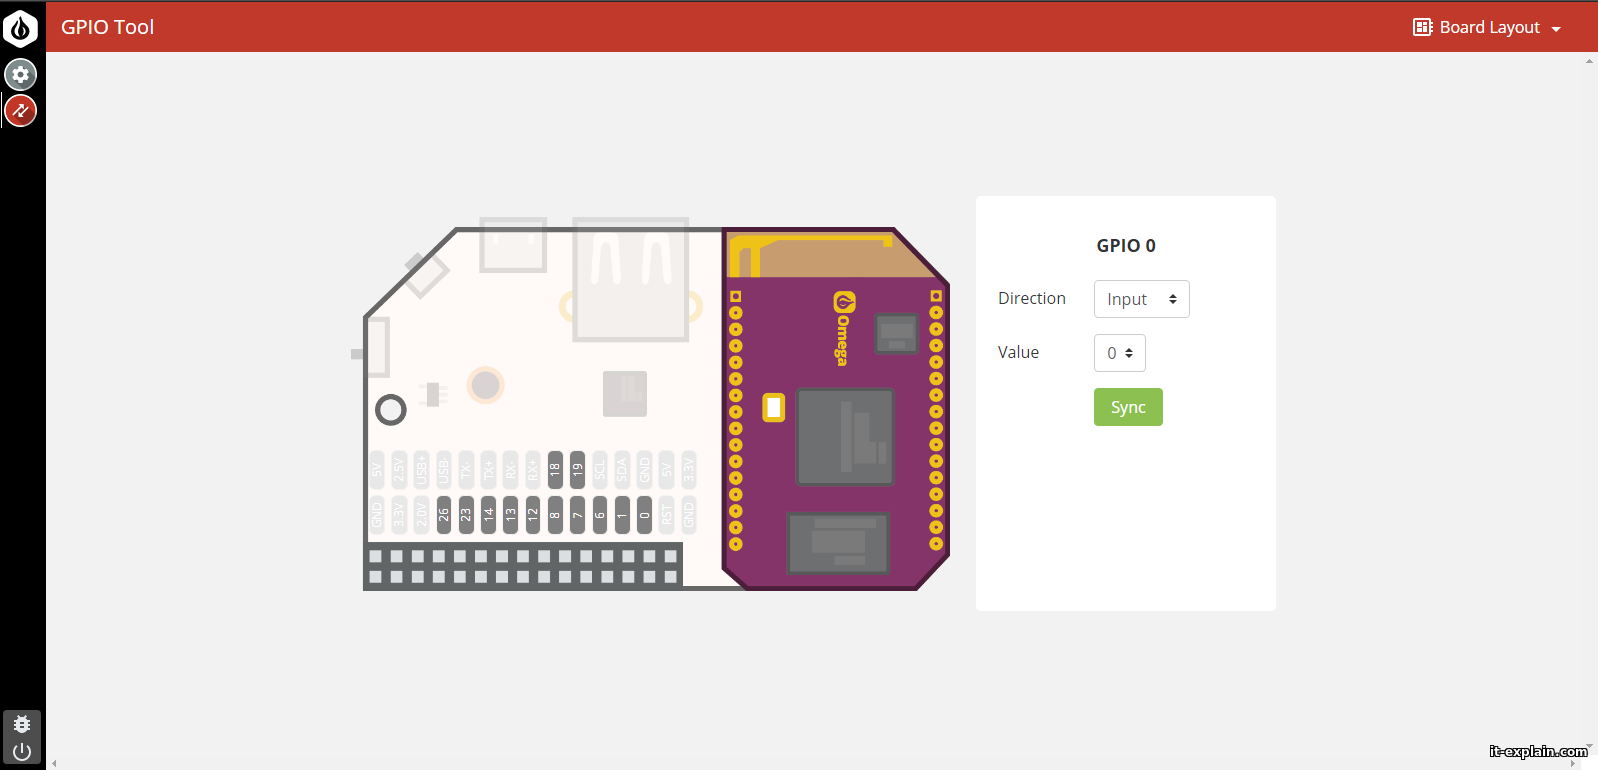
GPIO Tool – as is obvious from the title, the application for controlling pins GPIO. Pins can be assigned as inputs or outputs. For pin-outs, you can set 1 or 0.
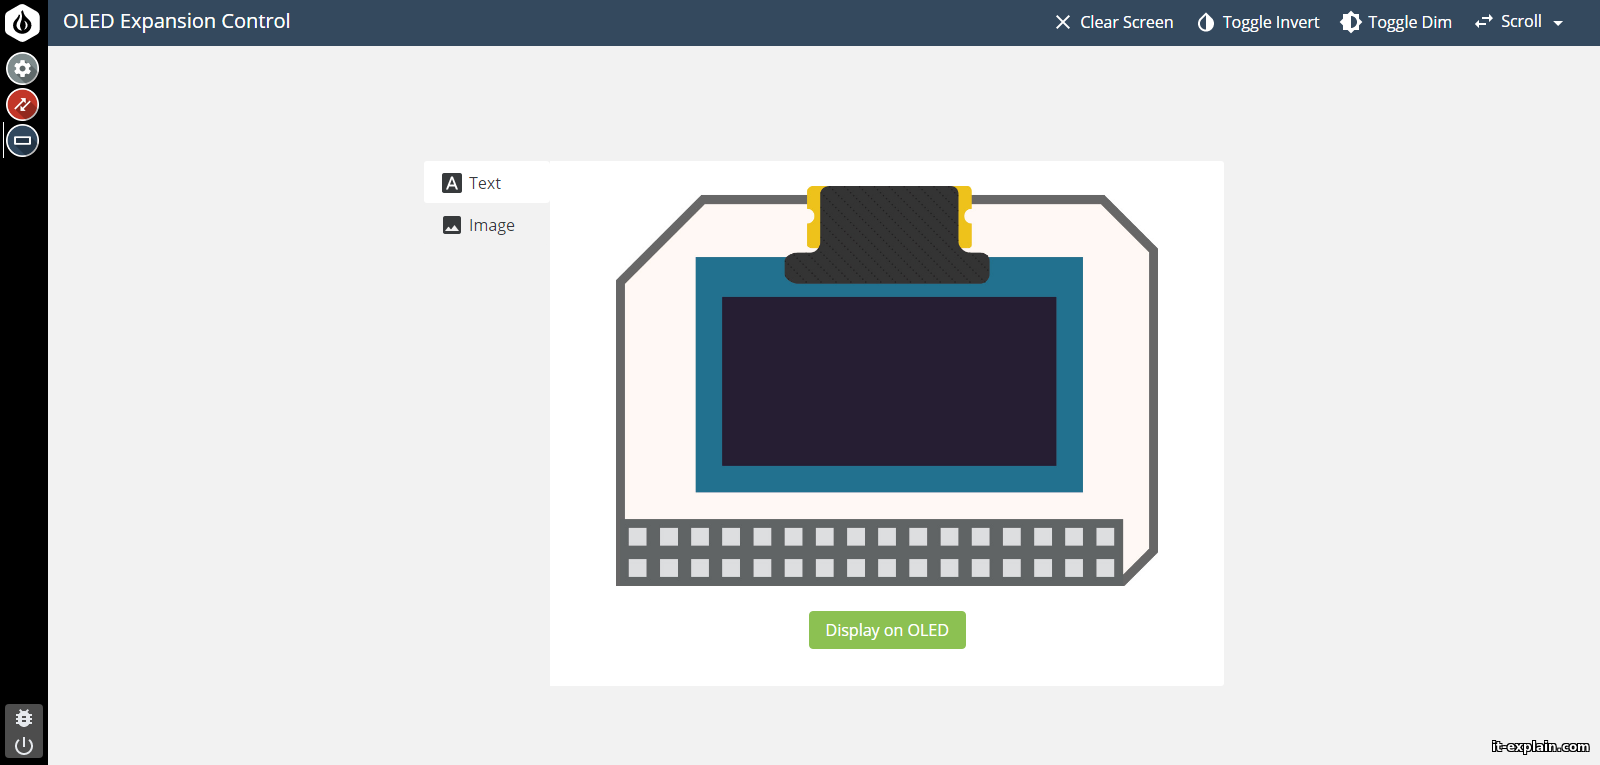
OLED Expansion Control – An interesting application for controlling the display. Allows you to write text and upload images. Unfortunately, I did not have a suitable display to work with the Omega.
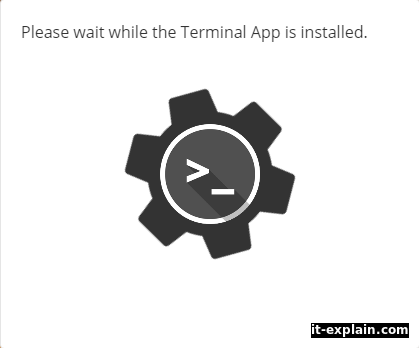
Terminal – the actual terminal via a web browser. I couldn’t run it. Constantly hung the inscription: “Please wait while the Terminal App is installed”
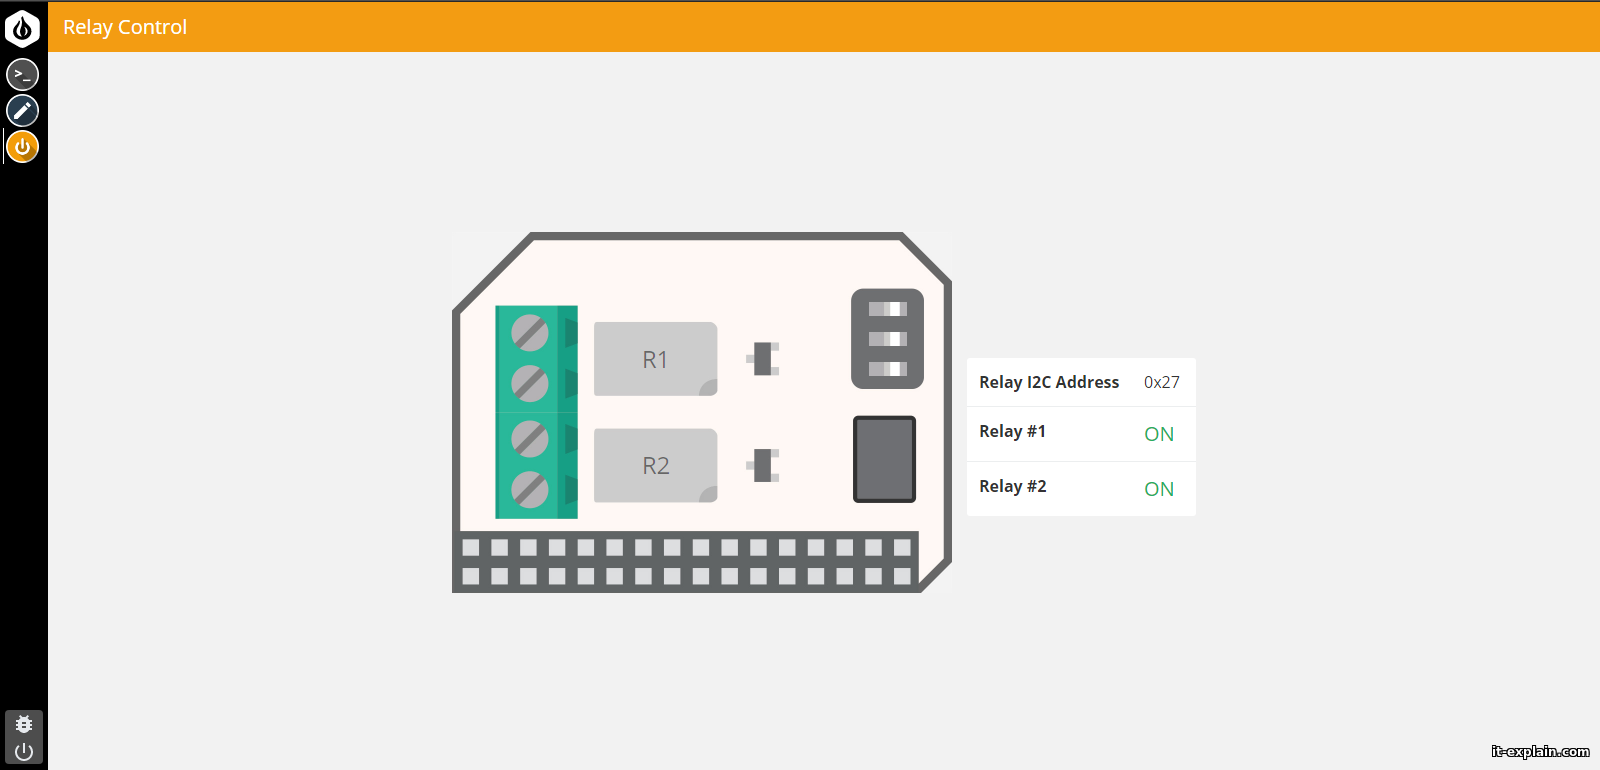
Relay Controlrelay control with interface I2C.
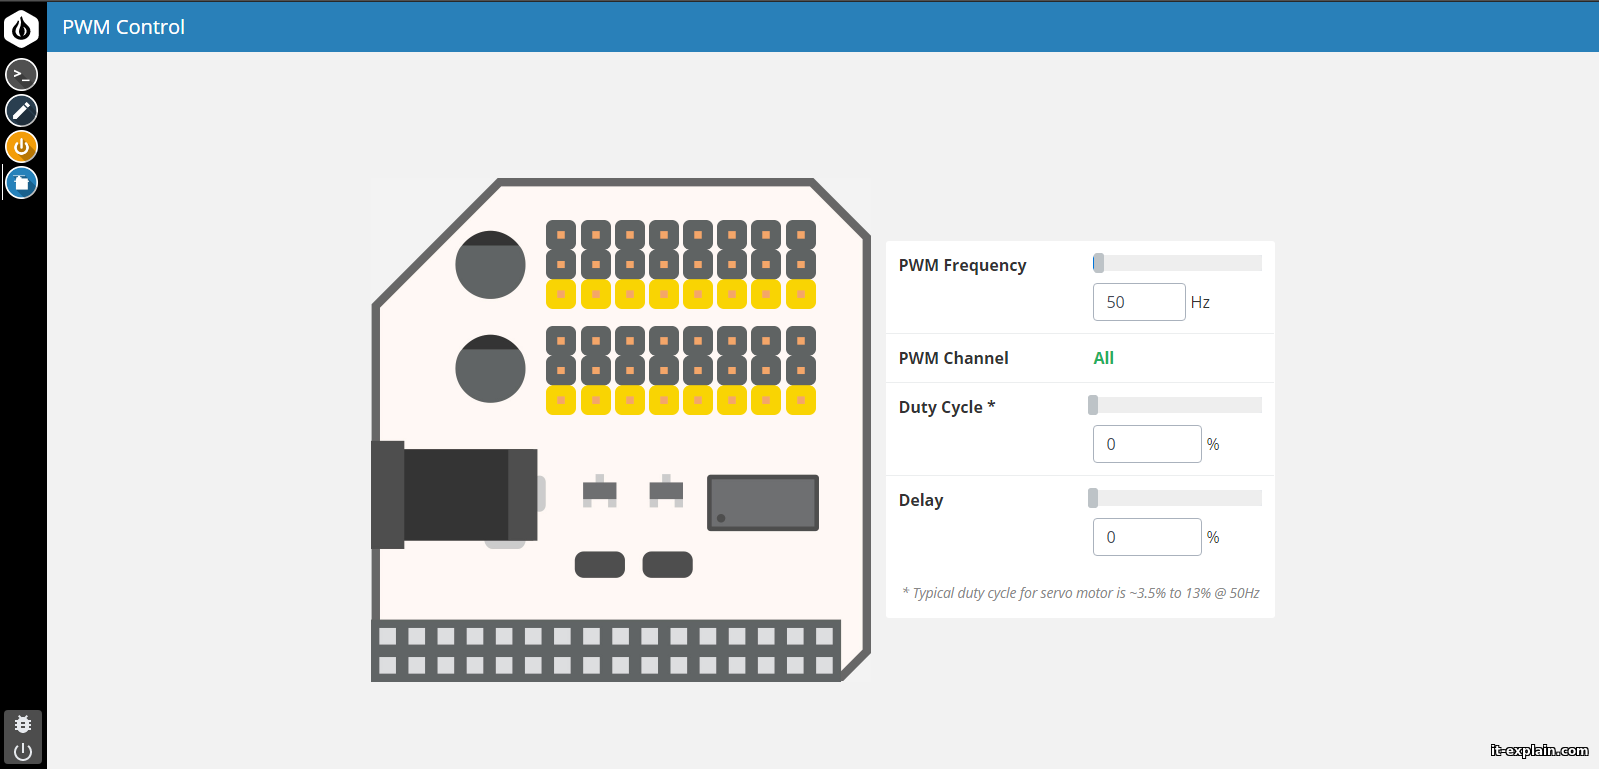
PWM Control -requires a special module.
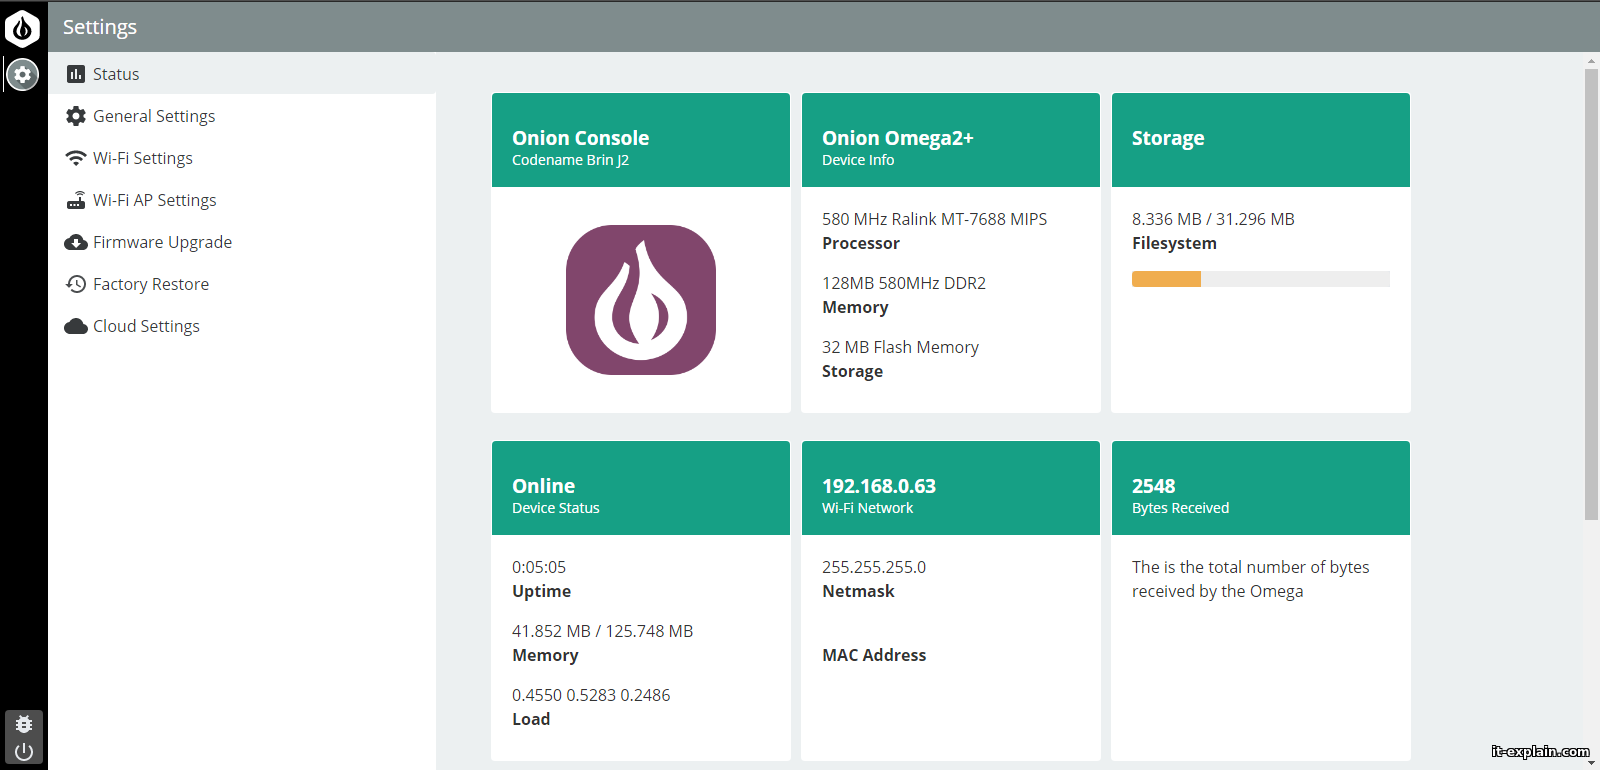
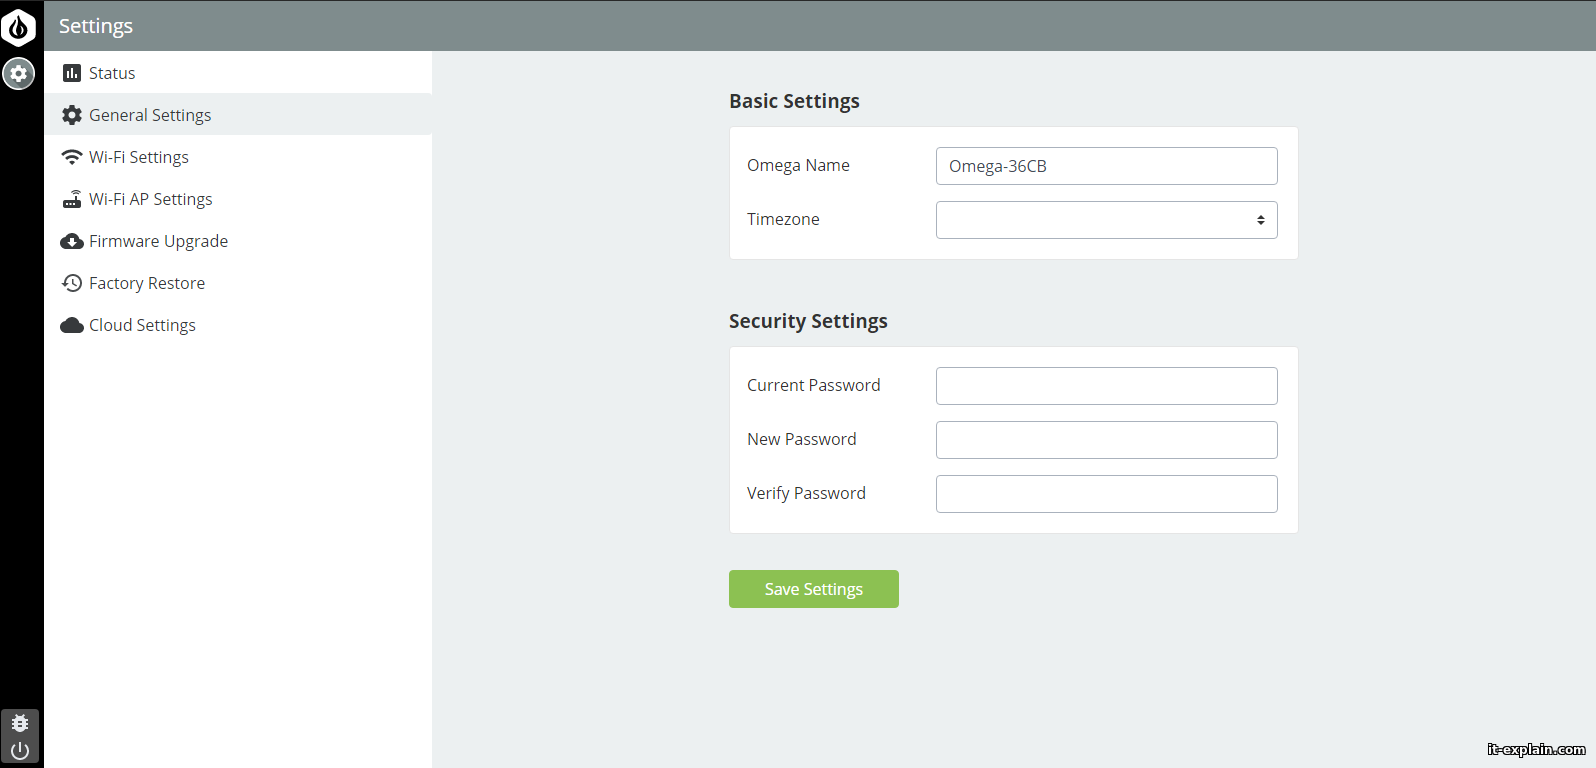
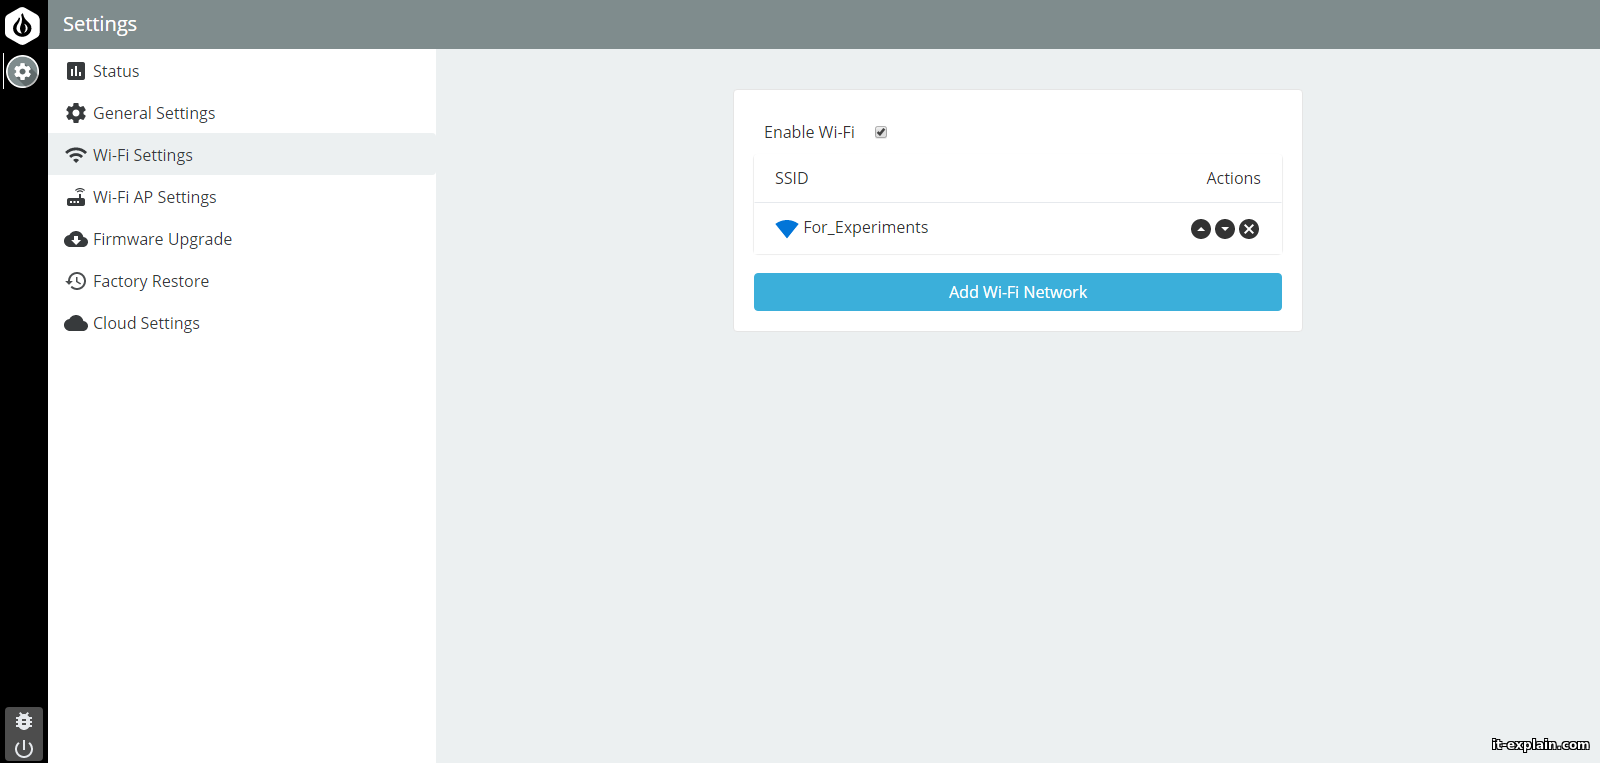
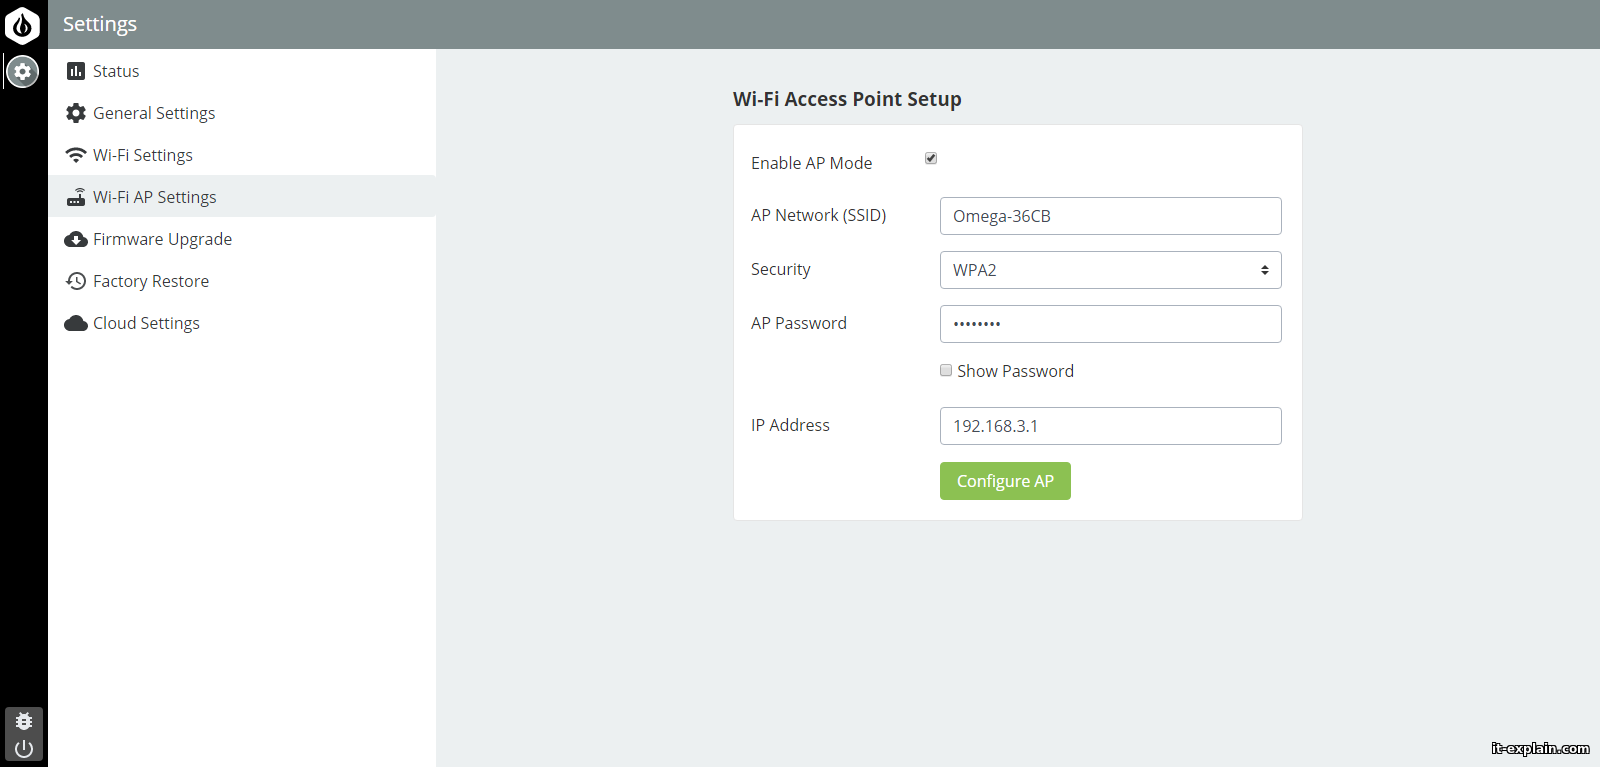
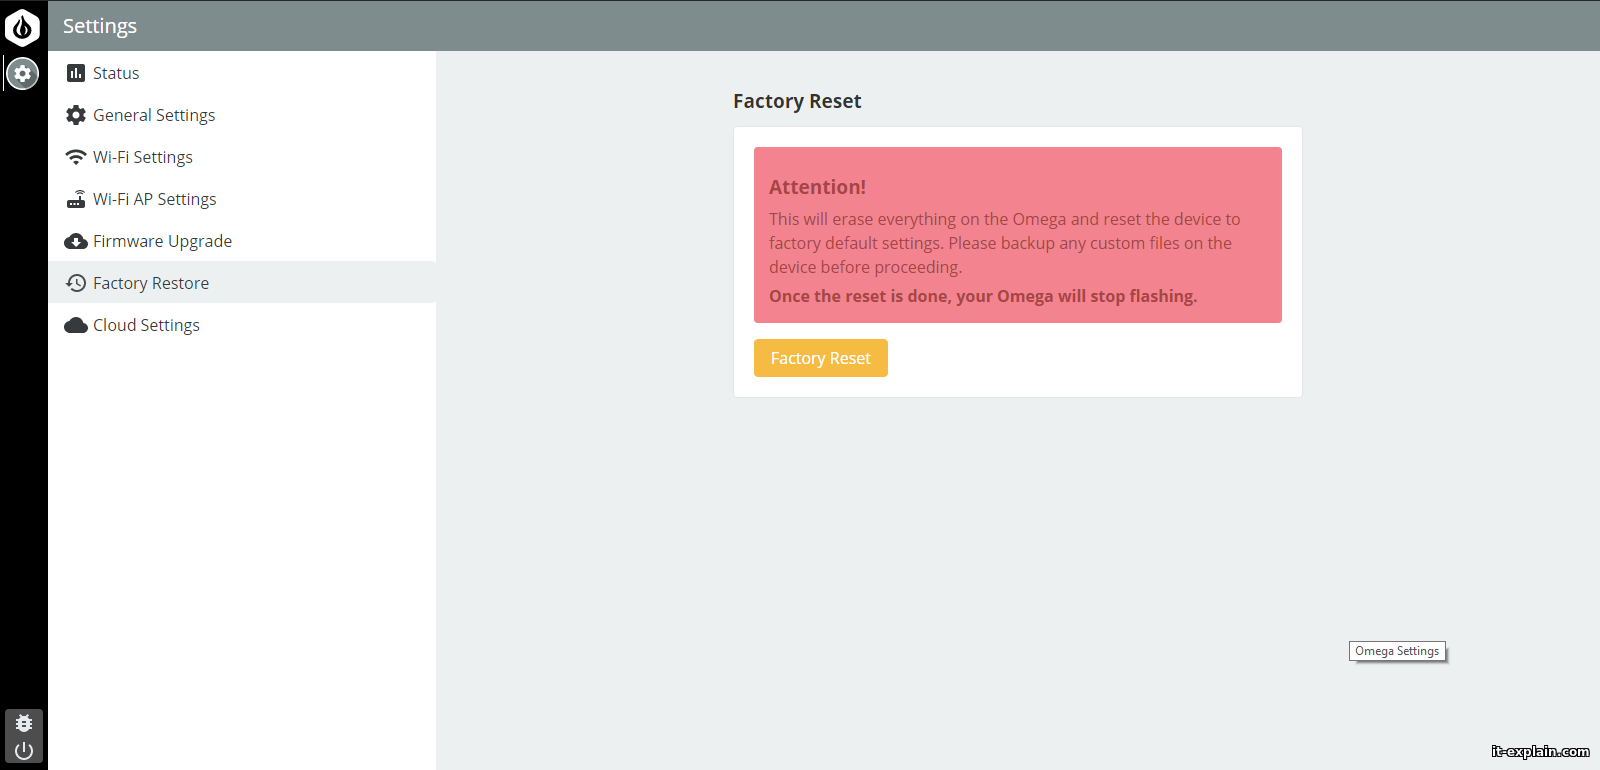
Settings – сGeneral settings. You can see the status of the chip, the fullness of the flash drive, change the chip name (hostname), password,change SSID and password access point, update firmware, Factory Reset, register an omega in Omega Cloud.
2.2 Linux console
I used Putty. Login and password default (root & onioneer).
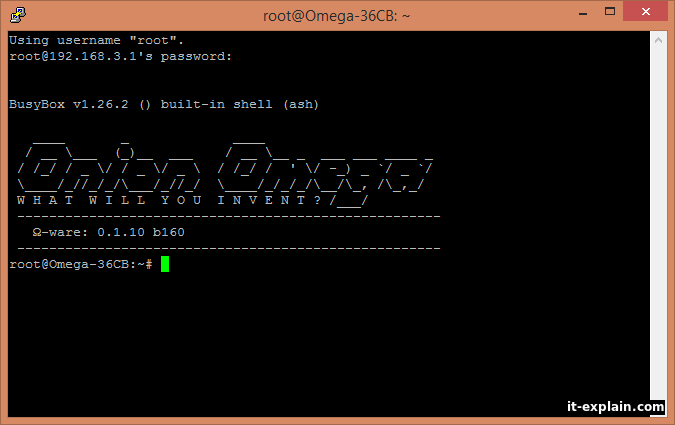
Omega itself works under Linux OpenWRT/LEDE. That is, we actually have a full-fledged Linux with the package manager opkg.
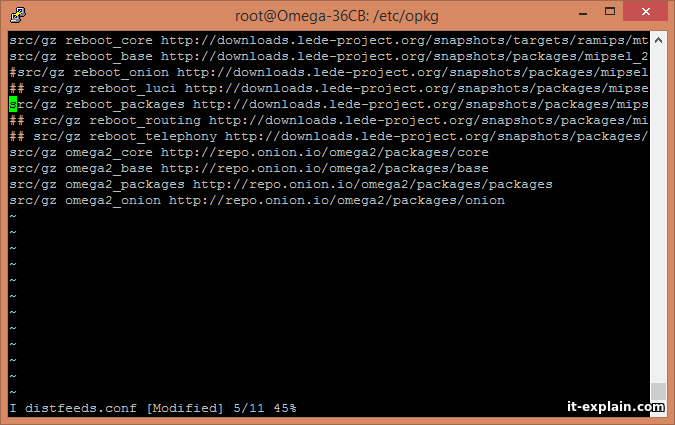
Omega uses its own repositories by default, but they are rather meager. It do not have many programs. Therefore, I immediately recommend that everyone include the LEDE repositories, which are already written in file, only need to be uncommented.
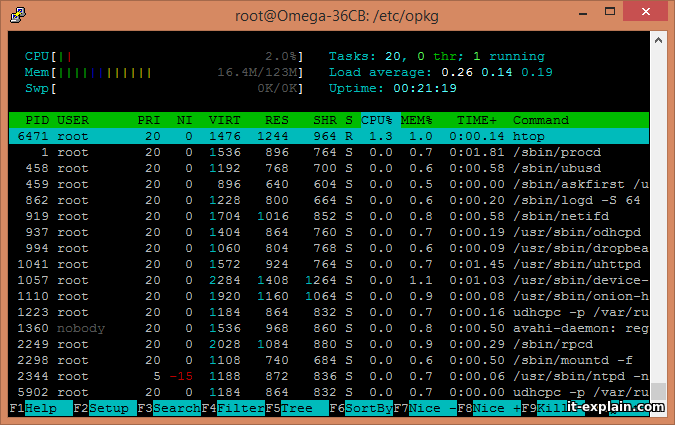
After that I installed programs mc, htop, screen without any problem.
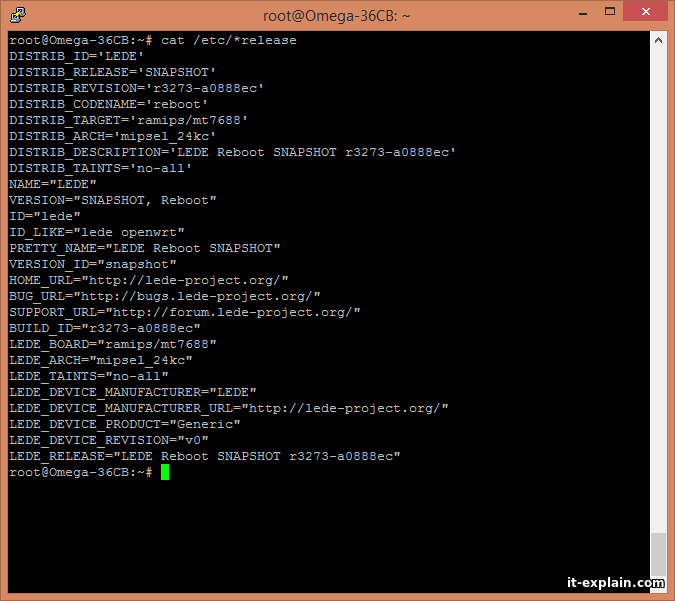
Output /proc/cpuinfo:
Output /etc/*release
3. Networking
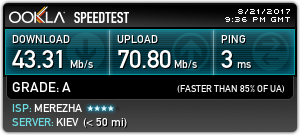
By default, Omega connects to the access point and share Internet, raising own access point. There are pins for Ethernet port, but I tested only the access point mode. All wireless equipment, that I used for tests, supports the standard 802.11n. Speedtest results:
Direct connection to the router (under WiFi):
Under Omega:
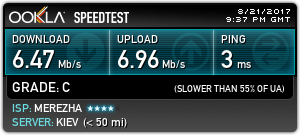
speed through the Omega is slower by a factor of 6!
Results:
Benefits:
– Onboard flash memory
– Small heating
– Small size
– Available USB, Ethernet
– Linux
– Price
Disadvantages:
– Absence of the stabilizer on 3.3 V
– No microUSB connector for power
An interesting alternative to Raspberry Pi, Orange Pi and similar boards. For those who do not need 4 cores and a lot of RAM, but important compactness and low heat – Omega is one of the best options. The only significant drawback, in my opinion, is the lack of a stabilizer from 5 V to 3.3 V.